
Horses of Hoofprint Bay: Jump Indicator & Takeoff Help
Understand jump markers, strength warnings, riding controls, and gait choices, with full-release guidance and clearly labeled demo tips.
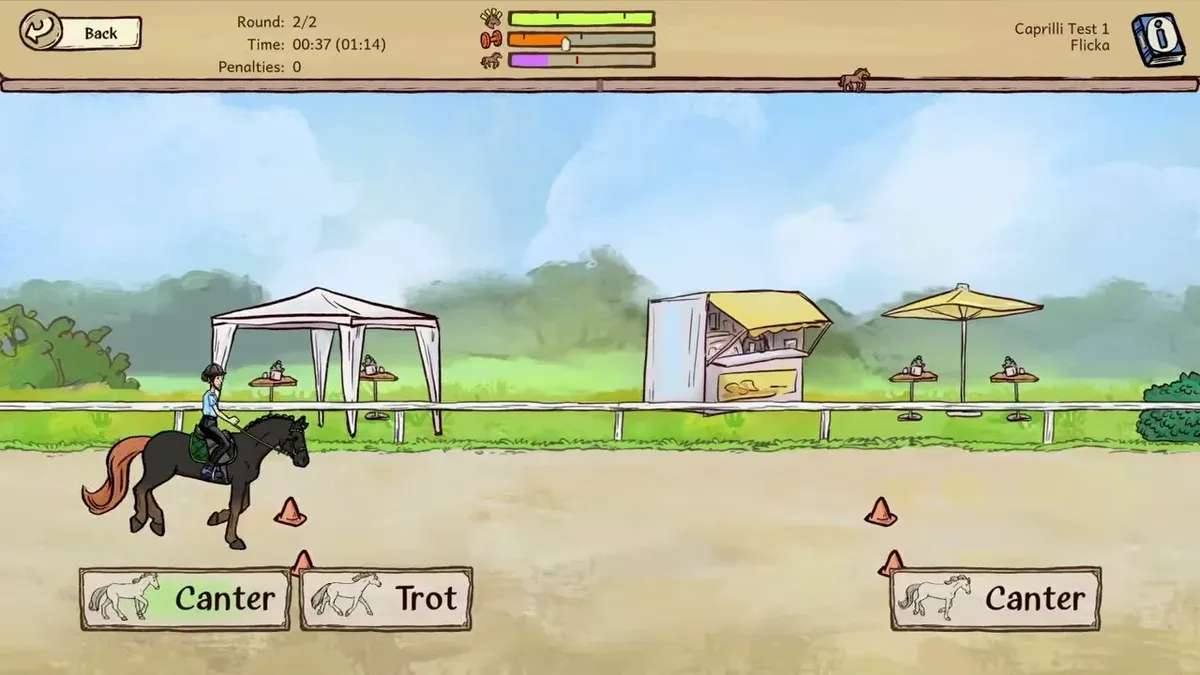
What does the jump indicator mean?
A missed fence can cost confidence even when your takeoff feels right. If you are looking for the Horses of Hoofprint Bay jump indicator, February demo players reported optional training markers in Settings, but the exact full-release toggle and competition behavior remain unconfirmed. The Horses of Hoofprint Bay jump indicator discussion also involves a separate, verified strength warning: the horse lacked enough remaining strength to jump high or far enough.
This guide covers the global Steam full release as of November 5, 2026. The clearest distinction is between help with takeoff timing, feedback about your horse’s ability, and automatic jumping assistance.
| Feature | What it tells you or helps with | Evidence status |
|---|---|---|
| Jump markers or indicators | Help players learn where to take off during training | February demo community reports; exact release behavior unconfirmed |
| Strength warning icon | Indicates the horse could not jump high or far enough with its remaining strength | Explained in the full-release handbook |
| Auto-jump | An accessibility option recommended for players struggling with jumping | Confirmed by the official FAQ |
In the February demo discussion about jumping tips, players described enabling markers through Settings and using them during training. One player specifically reported that those markers did not appear in competitions. Treat that restriction as player experience from the demo, rather than a confirmed rule for the November release.
The practical distinction matters: a timing marker helps you judge takeoff, while the strength warning explains a physical limit. Moving your jump input slightly earlier will not necessarily solve a failure caused by insufficient remaining strength.
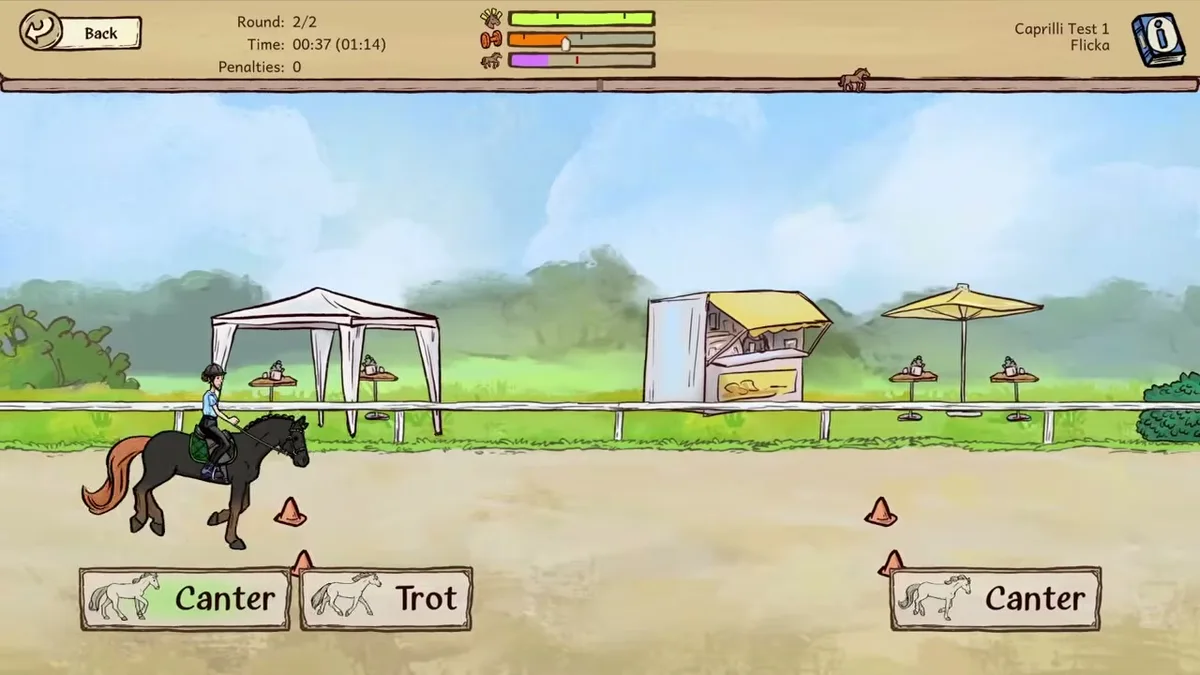
Game reference image. Image source.
Full-release gameplay and in-game handbook: Horses of Hoofprint Bay FULL RELEASE! Starting Our Horse Stable! 🐎 — Rohara, November 4, 2026. English-language reference footage. Specific handbook claims link to their observed timestamps; other uses are general game reference, not a device benchmark or proof of a bug fix.
Where to check jump help and riding controls
To look for the jump indicator, start in Settings and look for a jump-help or marker option. The February reports establish Settings as the place players found it, but a precise launch menu path or toggle name is not verified. Follow the labels visible in your version.
Next, check your riding bindings. Pressing a key out of habit can produce the wrong action before timing even becomes relevant. In particular, W appears as a jump binding in the release recording, which can surprise players accustomed to using it to move forward.
The Settings and Rebind Controls screen shown in Rohara’s full-release recording displays these riding bindings:
| Riding action | Bindings displayed in the recording |
|---|---|
| Faster | D or Right Arrow |
| Slower | A or Left Arrow |
| Jump | Space, Up Arrow, or W |
| Praise | S or Down Arrow |
These are displayed bindings in that recording, and the controls can be rebound. Check your own settings before assuming that every key will match.
If you keep jumping while trying to accelerate, resolve that control mismatch before practicing takeoff distance. Choose a layout you can remember, then keep it consistent while learning obstacles. Changing both your controls and your approach timing makes it harder to identify what caused an improvement.
The praise binding is also visible in the release recording. However, that control entry alone does not establish a particular praise timing window or a guaranteed bonus after every jump.
Choose the right gait for each obstacle
A jump indicator cannot replace choosing an appropriate gait. The game’s handbook explains that height and width call for different approaches, so increasing speed is not a universal solution.
According to the Riding Horses handbook visible in Rohara’s release recording, the gait guidance is:
| Obstacle type | Handbook guidance | Practical implication |
|---|---|---|
| Tiny jumps | Can be jumped at any gait | Choose your pace with the rest of the ride in mind |
| Medium jumps | Can be jumped at trot, canter, or gallop | There is more than one workable gait |
| High jumps | Best approached at canter; trot and gallop do not provide maximum height | Check your gait before changing takeoff timing |
| Wide jumps, such as water ditches | Best approached at gallop for a longer jump | Plan for distance as well as takeoff |
For a high fence, canter is the handbook-supported starting point. If you are galloping and repeatedly failing to clear the top, try the appropriate gait before deciding that you need to jump earlier.
For a wide water ditch, the challenge is different: your horse needs to cover distance. The handbook recommends gallop because it produces a longer jump. That does not establish one universal takeoff point for every water obstacle.
Medium jumps allow several gaits, but this flexibility does not guarantee success regardless of remaining strength or timing. Think about the obstacle and the course together.
A useful practice approach is to keep your gait consistent while learning a particular obstacle. Once the approach makes sense, work on changing pace between different jump types. This follows the handbook’s distinction between gaining height and covering width without inventing exact distances or timing windows.
Why a well-timed jump can still fail
If your search for the jump indicator started with a warning during a failed jump, check remaining strength first.
The full-release handbook’s strength explanation states that your horse’s current remaining strength limits how high and how far it can jump. The strength warning means the horse could not achieve the required height or distance. Running out of strength ends the ride.
That makes three checks useful before you blame your reaction time:
| What you notice | What to check | Response supported by the handbook |
|---|---|---|
| A strength warning accompanies a failed jump | Remaining strength | Review how you distribute pace across the course |
| A high jump keeps causing problems | Approach gait | Use canter for maximum jumping height |
| A wide ditch keeps causing problems | Approach gait and remaining strength | Use gallop for length while accounting for strength limits |
| A course remains beyond the horse’s ability | Training and potential | Train further, or buy or breed a horse with higher potential |
The handbook advises changing pace to balance the clock against strength. A strategy that gets you quickly through the opening obstacles can leave too little strength for later demands. Conversely, taking too much time can create a different problem. Evaluate the whole round instead of treating each fence as an isolated button press.
Potential also matters. The handbook explicitly allows for courses that a horse with low potential cannot complete. More practice can improve your timing, but it cannot guarantee that every horse will become capable of every course.
Be cautious with older advice about winning medium competitions on a starter horse. Those claims came from February demo players. The developers later described substantially lower starter stats in the October demo rebalancing announcement, so those earlier success stories do not establish what a release starter horse can achieve.
Practice timing and use accessibility settings
Treat the jump indicator as a practice aid if your version offers it. Use it alongside the handbook’s gait and strength guidance, then pay attention to which part of your approach needs work.
A focused practice routine can help:
- Check the controls. Make sure your intended speed-change key actually changes speed.
- Choose the gait for the obstacle. Start with canter for height and gallop for wide ditches.
- Watch remaining strength. If the strength warning appears, reassess pace and horse capability.
- Observe takeoff and landing. On later attempts, compare where you pressed Jump and where the horse landed.
- Adjust one part of the approach at a time. This makes the result easier to interpret.
The observation step reflects player experience in the February discussion about difficult jumping competitions. Players described learning by watching their position at takeoff and landing, with different approaches for vertical fences, oxers, and water.
Other February community reports suggested taking off closer at canter and earlier when moving faster. However, water-jump comments were more specific about getting close before jumping. These accounts are useful practice ideas, but they do not provide a verified release formula. Avoid applying a fixed distance to every obstacle.
Repeated failures also affect confidence. The release handbook says successful jumps increase confidence, while knockdowns and refusals reduce it; falls cause a larger loss. As a practical response, consider returning to manageable obstacles when repeated difficult attempts are producing failures.
If manual timing remains frustrating, the official Horses of Hoofprint Bay FAQ recommends the auto-jump accessibility setting. It also recommends experimenting with easier competition settings.
The release Settings recording shows a competition difficulty slider running from Chill to Challenging among the settings for the save. Adjusting difficulty is another available option, although the verified screen does not explain every numerical effect of that slider.
Use auto-jump to help with jumping input while continuing to consider gait and strength. February community reports specifically cautioned that automatic jumping did not guarantee a clear round when pace or horse capability was unsuitable. The release handbook independently establishes why those factors deserve attention.
FAQ: jump indicator
Does the jump indicator appear in competitions?
February demo community reports said the markers appeared during training and were absent from competitions. That exact restriction has not been verified for the November 4 full release. If markers disappear when you enter an event, check your version’s settings before assuming something is broken.
What does the strength warning mean when a jump fails?
The full-release Riding Horses handbook says the horse could not jump high or far enough with its remaining strength. Check how much strength remains and how you are pacing the course. If the horse lacks the potential required for the course, training alone may not resolve the problem.
Should I canter or gallop when jumping?
Use canter for high jumps and gallop for wide jumps such as water ditches, following the release handbook. Tiny jumps allow any gait, while medium jumps allow trot, canter, or gallop. The right gait still needs to work with your timing and remaining strength.
Can I enable auto-jump if timing is too difficult?
Yes. The official FAQ confirms auto-jump as an accessibility option and recommends it for players who struggle with jumping. Competition difficulty can also be adjusted. Continue matching your gait to the obstacle and monitoring strength, especially when later jumps become harder to clear.
What should you read next?
- Horse Training & Confidence Guide
- How to Praise Your Horse
- Jumping Timing, Gaits & Strength
- Riding Lessons & Correct Posture
Return to Training & Lessons or the wiki homepage to choose another topic.
Related Articles
training
Horses of Hoofprint Bay: Horse Training & Confidence Guide
Build strength, endurance, and confidence with practical guidance on desensitization, praise, gait warnings, and community reports about bucking.
training
Horses of Hoofprint Bay: How to Praise Your Horse
Learn the praise controls, when to reward gait changes, and how to build confidence during desensitization in Horses of Hoofprint Bay.
training
Horses of Hoofprint Bay: Jumping Timing, Gaits & Strength
Learn which gaits suit high and wide jumps, how to practice takeoff timing, and when strength or horse potential is causing missed fences.
Was this helpful?
Thanks for the feedback!