
Horses of Hoofprint Bay: Jumping Timing, Gaits & Strength
Learn which gaits suit high and wide jumps, how to practice takeoff timing, and when strength or horse potential is causing missed fences.
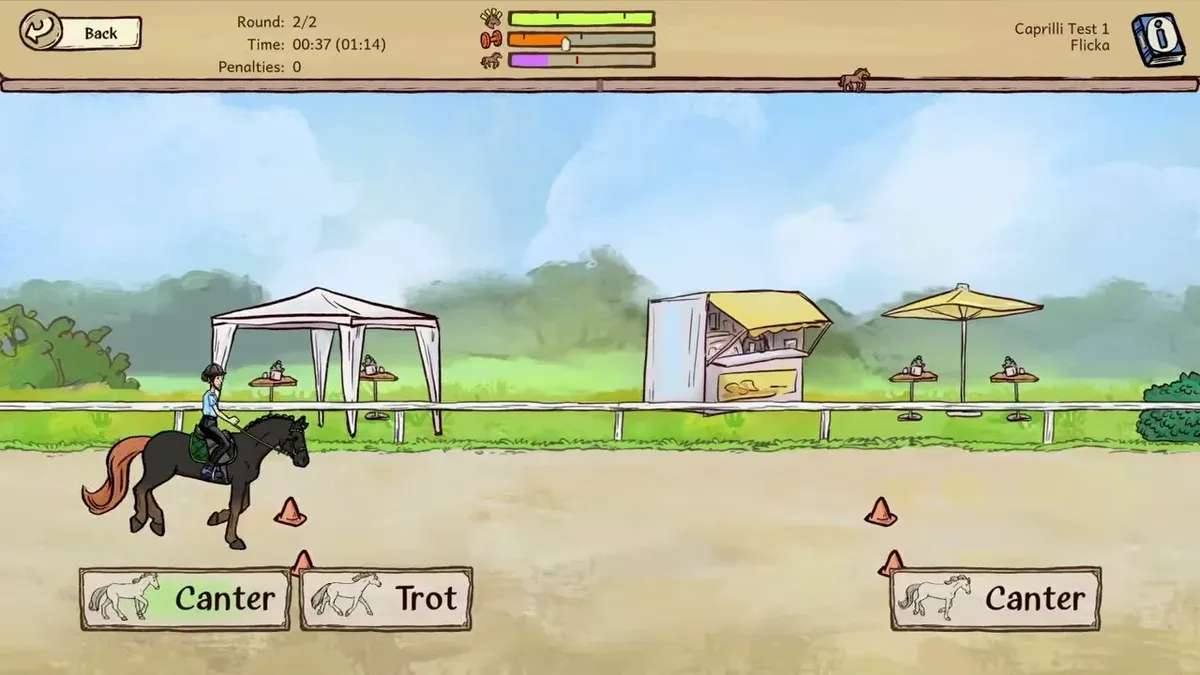
Choose the right gait before adjusting your takeoff
Horses of Hoofprint Bay jumping timing becomes easier to understand when you check your gait and remaining strength before moving your takeoff point. A missed fence can reflect your horse’s physical limits, making repeated timing adjustments frustrating and ineffective. The strongest starting point for Horses of Hoofprint Bay jumping timing is canter for high fences, gallop for wide obstacles, and enough strength remaining to clear them.
This guide covers the global Steam full release launched November 4, 2026, with evidence checked November 5. The current gait guidance comes from the in-game Riding Horses handbook visible in Rohara’s full-release recording. Older player experience appears separately below.
| Obstacle type | Gait guidance from the handbook | What that means for your approach |
|---|---|---|
| Tiny jump | Any gait can work | You have flexibility in gait choice |
| Medium jump | Trot, canter, or gallop | Several gaits are suitable |
| High jump | Canter is best | Trot and gallop do not produce maximum jumping height |
| Wide jump, such as a water ditch | Gallop is best | Gallop provides a longer jump |
These distinctions are explained in the Riding Horses handbook shown in Rohara’s recording.
For a high fence, switching from gallop to canter addresses a known mechanical limitation before you experiment with the button press. For a wide ditch, check whether you need gallop’s additional distance. Neither adjustment guarantees success: the horse still needs sufficient strength and a suitable takeoff.
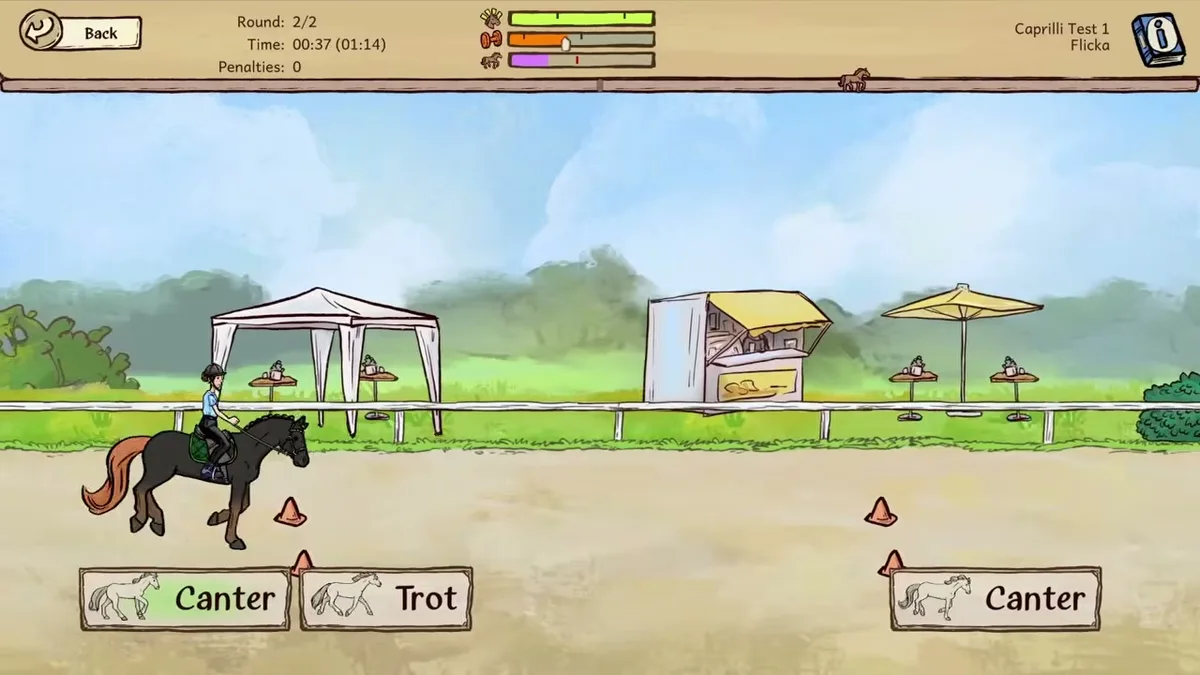
Unaltered gameplay still from JayPlays’ full-release video. General visual context, not proof of an undocumented mechanic. Image source.
Full-release gameplay and in-game handbook: Horses of Hoofprint Bay FULL RELEASE! Starting Our Horse Stable! 🐎 — Rohara, November 4, 2026. English-language reference footage. Specific handbook claims link to their observed timestamps; other uses are general game reference, not a device benchmark or proof of a bug fix.
Jumping timing: reading takeoff cues
There is no verified universal takeoff distance or millisecond window available for the full release. Advice such as “always jump one horse length away” would imply precision the current evidence does not support.
Older community reports offer useful starting points for practice. Players described approaching vertical fences more closely at canter and taking off earlier for oxers. These observations come from demo discussions, so treat them as suggestions to test against your current game.
| Situation | Player experience from demo discussions | How to use that advice |
|---|---|---|
| High, narrow fence at canter | Players favored a closer takeoff | Try a closer approach while keeping the gait consistent |
| Oxer or spread fence | Players often jumped earlier | Practice its width separately from a vertical fence |
| Faster approach | Players generally reported taking off farther away | Recheck your takeoff reference after changing gait |
| Visible takeoff cones | One player suggested pressing jump near front-hoof alignment | Use this as an approximate practice cue if available |
The February demo jumping discussion describes the closer-at-canter approach. The October 27 prerelease discussion includes the front-hooves-at-cones suggestion and reports that indicators change with gait.
Water jumps deserve separate practice. In the February competition discussion, some players recommended more speed while still taking off fairly close to the water. That makes “every wider jump requires an earlier press” too broad a rule.
Community reports also described optional training indicators, with February players saying they were absent from competitions. Those are demo-era descriptions; check your current settings before assuming identical behavior.
When practicing, watch both the takeoff location and where the horse lands. Keep the obstacle and gait consistent while comparing attempts, and check remaining strength so fatigue does not confuse the comparison.
Check strength, potential, and confidence after a miss
When jumping timing feels inconsistent, remaining strength is one of the first things to inspect. The full-release handbook says your horse’s current strength limits how high and how far it can jump.
A strength warning icon means the horse could not jump sufficiently high or far. Running out of strength ends the ride. The handbook therefore recommends changing pace to balance the clock against strength reserves, as shown in the full-release handbook’s strength explanation.
| What happens | Relevant mechanic | What to check next |
|---|---|---|
| A high fence causes trouble at gallop | Gallop does not provide maximum height | Try the handbook’s recommended canter |
| A strength warning appears | The horse lacked sufficient height or distance | Review remaining strength and obstacle demands |
| The ride ends with depleted strength | No strength remaining ends the ride | Reconsider pace choices across the course |
| A course remains beyond the horse’s ability | Some courses exceed a low-potential horse’s limits | Consider training or a horse with higher potential |
These checks help distinguish problems that look similar on screen. A rail falling does not, by itself, establish whether you pressed too early, chose an unsuitable gait, or approached with insufficient strength.
Potential also matters. According to the handbook, some courses are impossible for horses with low potential. Training may help your horse progress, while buying or breeding a horse with higher potential can address a longer-term limitation. There is no supported universal stat threshold here that guarantees a particular competition win.
Confidence is another reason to avoid repeating unsuccessful attempts without adjustment. The handbook says successful jumps increase confidence, while knocking an obstacle or refusing reduces it; a fall causes a larger loss. Returning to manageable obstacles is therefore a sensible practice choice when repeated misses are piling up.
Check your controls and use the available assistance
A mistaken input can look like a timing problem. If your jumping timing suffers because you instinctively press W to accelerate, check your riding bindings before another attempt.
The full-release recording shows the following assignments under Settings/Rebind Controls. These are displayed bindings in that recording, and they can be changed.
| Riding action | Keys shown |
|---|---|
| Faster | D or Right Arrow |
| Slower | A or Left Arrow |
| Jump | Space, Up Arrow, or W |
| Praise | S or Down Arrow |
The recorded full-release controls screen also shows a competition difficulty slider running from Chill to Challenging within the settings for a save.
Choose a jump key you can reliably distinguish from your speed controls. If you change a binding, confirm the new assignment before using it in competition. This removes an avoidable source of accidental jumps while you learn the approach.
For additional help, the official Horses of Hoofprint Bay FAQ explicitly recommends the auto-jump accessibility setting for players struggling with jumping. It also suggests trying easier competition settings.
Auto-jump is worth considering if coordinating takeoff with pace changes feels overwhelming. Community reports describe using it to concentrate on gait and strength management, while cautioning that it does not guarantee a clear round. The handbook’s requirements for jump height, distance, and remaining strength still give you useful things to check.
Build a practice routine that fits the current release
A useful jumping timing routine separates the decisions involved in each approach. You are choosing a gait, judging a takeoff point, and managing a horse whose remaining strength changes during the ride.
Use the following sequence as a practical way to apply the handbook and the clearly labeled player experience:
- Confirm your jump and speed controls. Check the assignments in your own settings, especially if W is normally your forward key in other games.
- Match the gait to the obstacle. Start with canter for height and gallop for width. Remember that tiny and medium jumps allow more flexibility.
- Practice a consistent approach. Compare similar obstacles at the same gait. If indicators are available, use them as a visual reference while learning.
- Review the result before changing anything. Look for a strength warning, note your remaining strength, and consider whether the course exceeds the horse’s ability.
- Adjust the relevant variable. Refine takeoff timing when the gait and strength look appropriate; reconsider pace or training when they do not.
Avoid changing everything after one miss. If you change gait, takeoff point, and horse at once, it becomes difficult to identify which adjustment helped.
Older competition advice also needs context. February players reported beating medium show jumping with a fully trained starter horse, while others recommended buying a stronger horse. Those accounts describe the earlier demo balance and do not establish what every starter horse can achieve at launch.
The developers’ October demo announcement documented substantially lower starter stats after rebalancing. Meanwhile, the official FAQ confirms that the full game has unlimited days, so demo advice built around a 25-day deadline should not pressure you into selling your starter immediately.
Base your next step on the current horse’s training and potential, the course’s demands, and the feedback from the ride.
Jumping timing FAQ
When exactly should I press jump?
No single verified distance or time window applies to every obstacle. For jumping timing, begin with the correct gait and sufficient strength, then refine your takeoff reference. Player experience from the demos favors closer approaches for high verticals at canter and earlier takeoffs for oxers. Treat those as practice cues, with water jumps requiring their own attention.
Why can my horse clear a high fence at canter but struggle at gallop?
The full-release Riding Horses handbook identifies canter as the best gait for high jumps. It states that trot and gallop do not achieve maximum jumping height. Gallop instead helps with longer jumps, making it better suited to wide obstacles such as water ditches. Remaining strength can limit either approach.
Does the strength warning mean my timing was wrong?
The warning specifically indicates insufficient jumping height or distance, according to the handbook. It does not establish that your button press was the sole cause. Check remaining strength, gait, and the horse’s capability before repeatedly moving the takeoff point. Timing remains something to practice, but it cannot remove a horse’s physical limits.
Should I turn on auto-jump or lower the difficulty?
Both are supported options: the official FAQ recommends auto-jump for jumping difficulties and suggests easier competitions. The recorded full-release settings also show the Chill-to-Challenging competition slider. Choose the assistance that addresses your frustration, and continue checking gait and strength; community reports caution that auto-jump alone does not guarantee successful jumps.
What should you read next?
Return to Training & Lessons or the wiki homepage to choose another topic.
Related Articles
training
Horses of Hoofprint Bay: Horse Training & Confidence Guide
Build strength, endurance, and confidence with practical guidance on desensitization, praise, gait warnings, and community reports about bucking.
training
Horses of Hoofprint Bay: How to Praise Your Horse
Learn the praise controls, when to reward gait changes, and how to build confidence during desensitization in Horses of Hoofprint Bay.
training
Horses of Hoofprint Bay: Jump Indicator & Takeoff Help
Understand jump markers, strength warnings, riding controls, and gait choices, with full-release guidance and clearly labeled demo tips.
Was this helpful?
Thanks for the feedback!